Setup Klaviyo
1) Get your API KEY from Klaviyo
- Log in to your Klaviyo account
- Click on your avatar, then on ACCOUNT
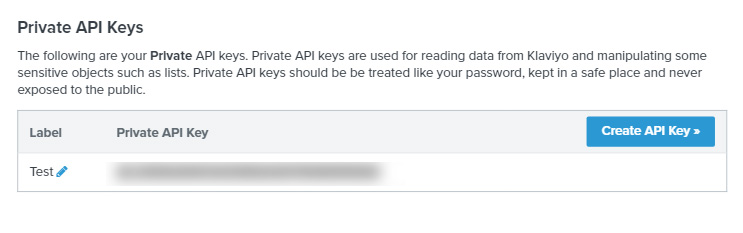
- Locate the Settings menu and click on "API Keys"
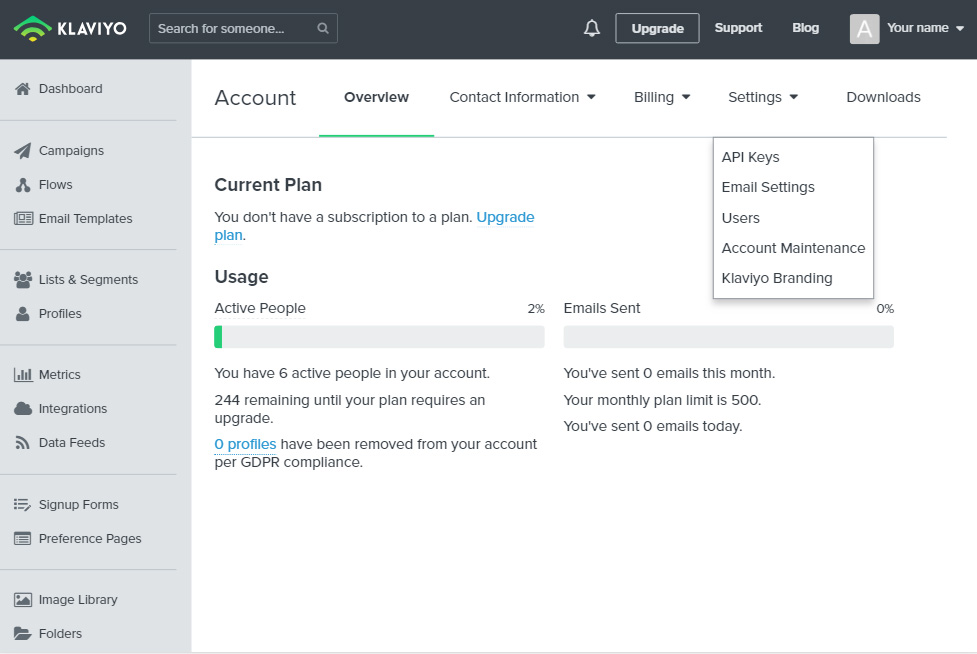
- Copy your API Key (create one if needed)
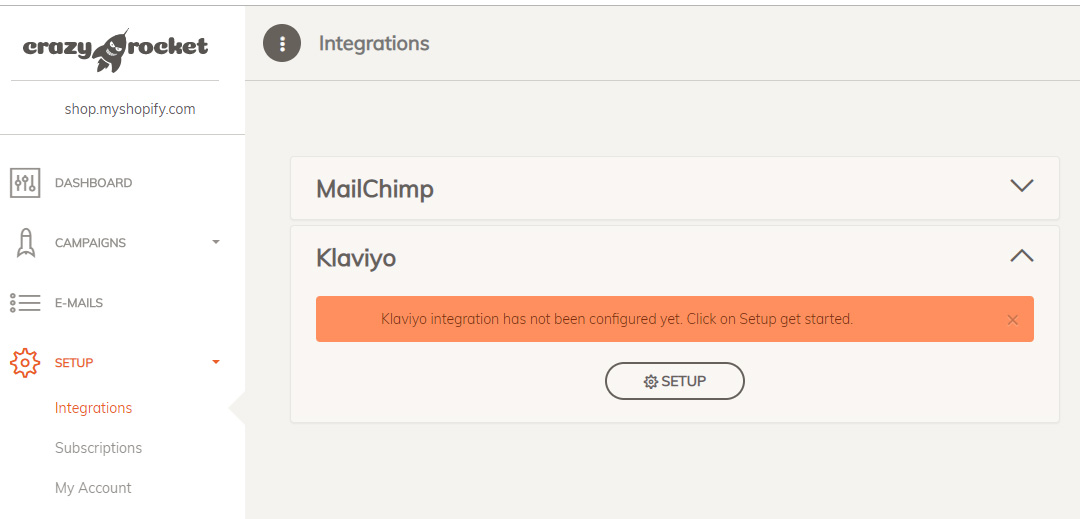
2) Open the Integrations Menu on CrazyRocket
- Log in to the Dashboard
- Click on SETUP > INTEGRATIONS
- Expand the Klaviyo section and click SETUP
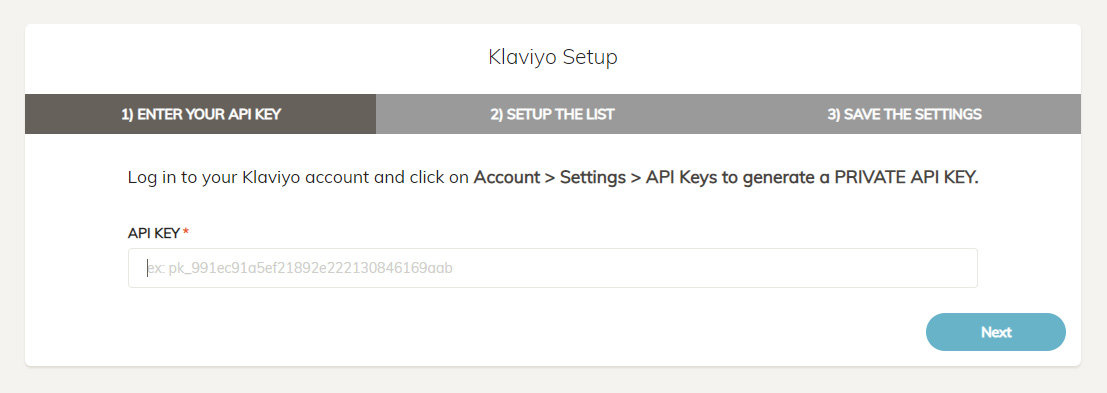
3) Paste the API Key
Paste the API Key previously copied from your Klaviyo Admin.
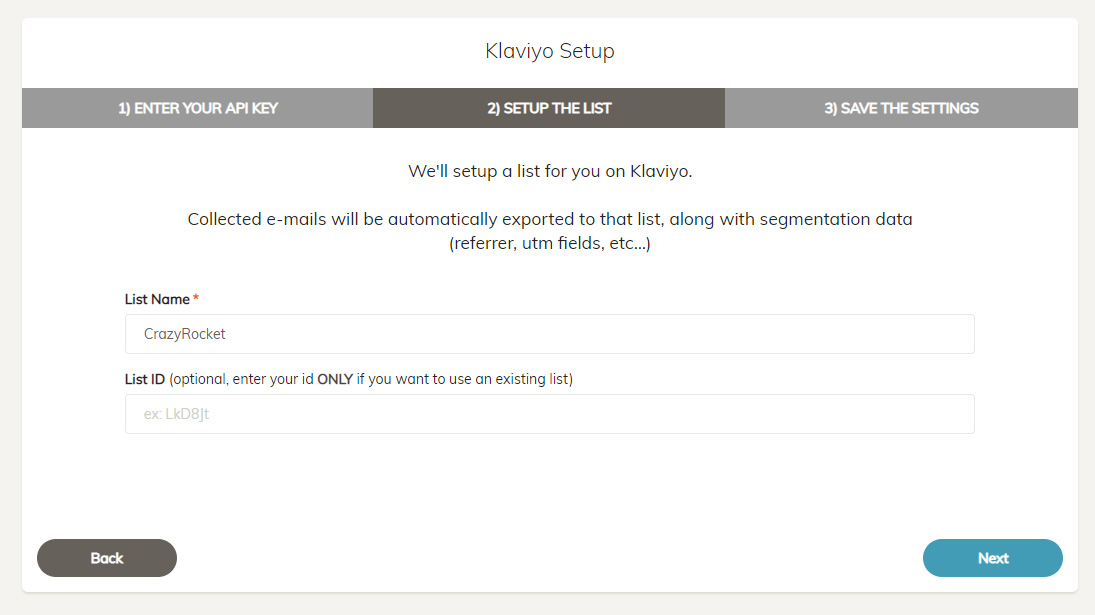
4) Fill in the required fields
The system will set up a new list on Mailchimp automatically, make sure to fill in all the required fields and click on NEXT when done.
PLEASE NOTE
The setup process creates the following merge field to help you segment your data:
CRZ_InitialPage, CRZ_CouponId, CRZ_ReferrerSite, CRZ_ReferrerURL, CRZ_UTMSource, CRZ_UTMMedium, CRZ_UTMTerm, CRZ_UTMContent, CRZ_UTMCampaign, CRZ_Country, CRZ_DeviceType
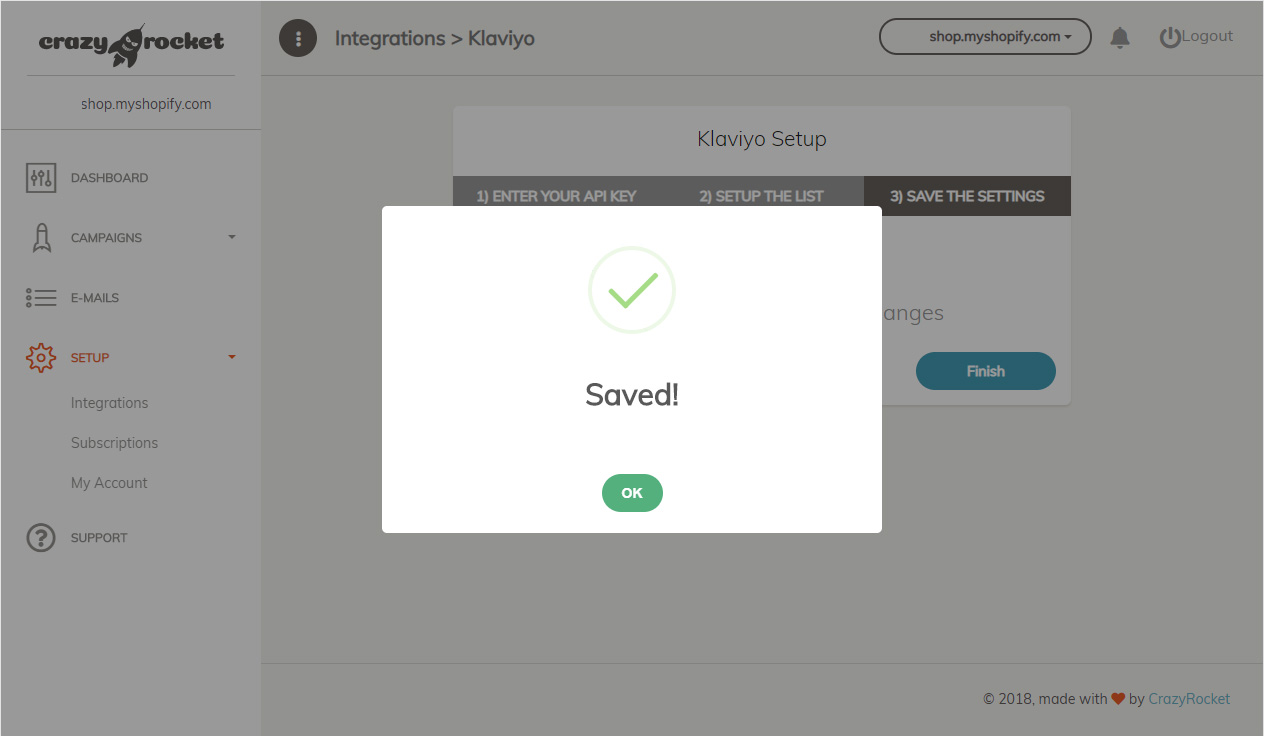
5) Save Settings
Once you reach the last page of the wizard, click on FINISH to save the settings. If everything works as expected the system will show a "SAVED!" message.
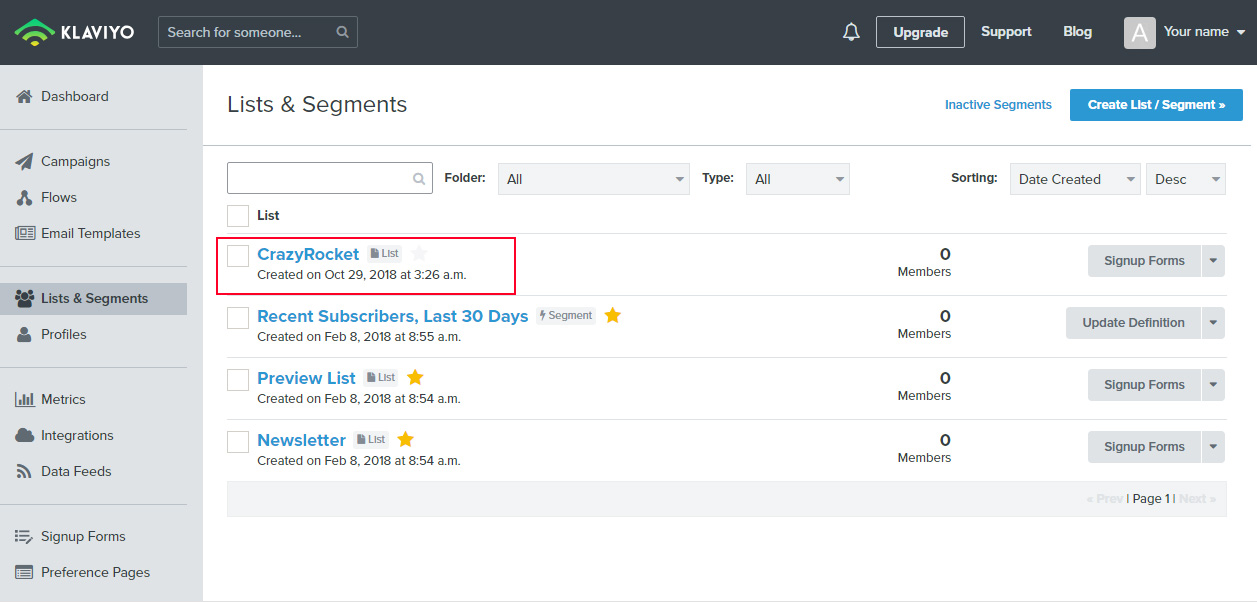
Open you Klaviyo admin and click on Lists at the top of the screen. You should see the newly created list :)
7) Assign the integration to the campaign(s)
Almost done!
Open the campaign(s) you want to connect to the Klaviyo integration, go under the GLOBAL section and select Klaviyo on the integrations dropdown.
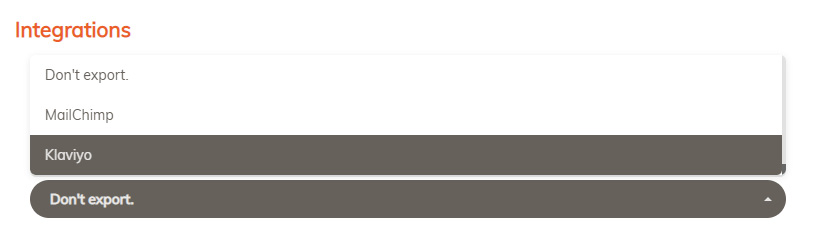
DONE! Klaviyo is now ready to receive the e-mails collected from CrazyRocket.
8) Send the Coupon (OPTIONAL)
Looking to send the coupon to the user? Please download this quick guide.
NEED HELP? Contact Us