Install CrazyRocket on Shopify
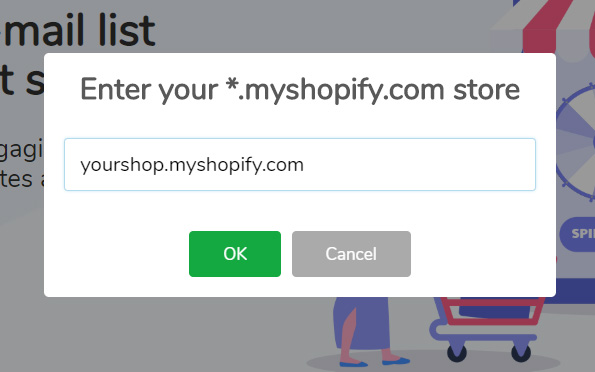
1) Enter your site URL (ex. yourshop.myshopify.com)
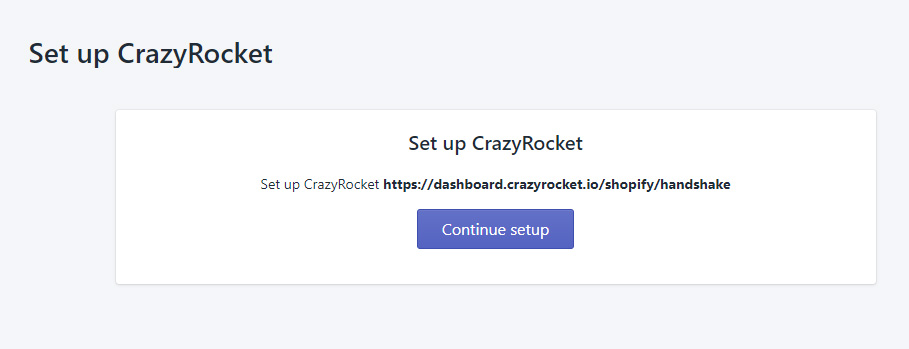
2) Click on "CONTINUE SETUP" when you reach the Shopify installation page
3) Approve the permissions
Here is how we'll use the permissions:
- VIEW ORDER - used to read and match the coupon with the sale value to provide you statistics on the dashboard.
- MANAGE YOUR ONLINE STORE - used install the ScriptTag required to load and render the widget.
- MANAGE CUSTOMERS - used to create a customer when a user enters his e-mail.
- MANAGE OTHER DATA - used read existing coupons and create unique coupons automatically

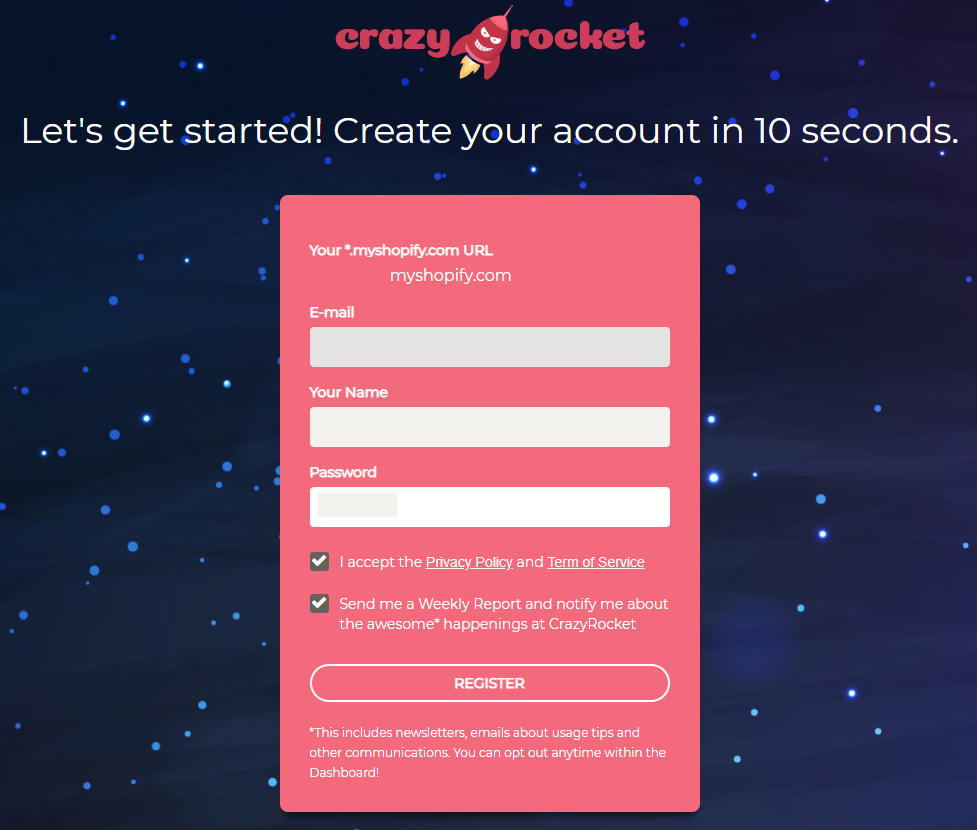
4) Create your CrazyRocket account
E-mail and name fields are pre-filled by your Shopify account: enter your password, accept the term of service and click REGISTER to continue.
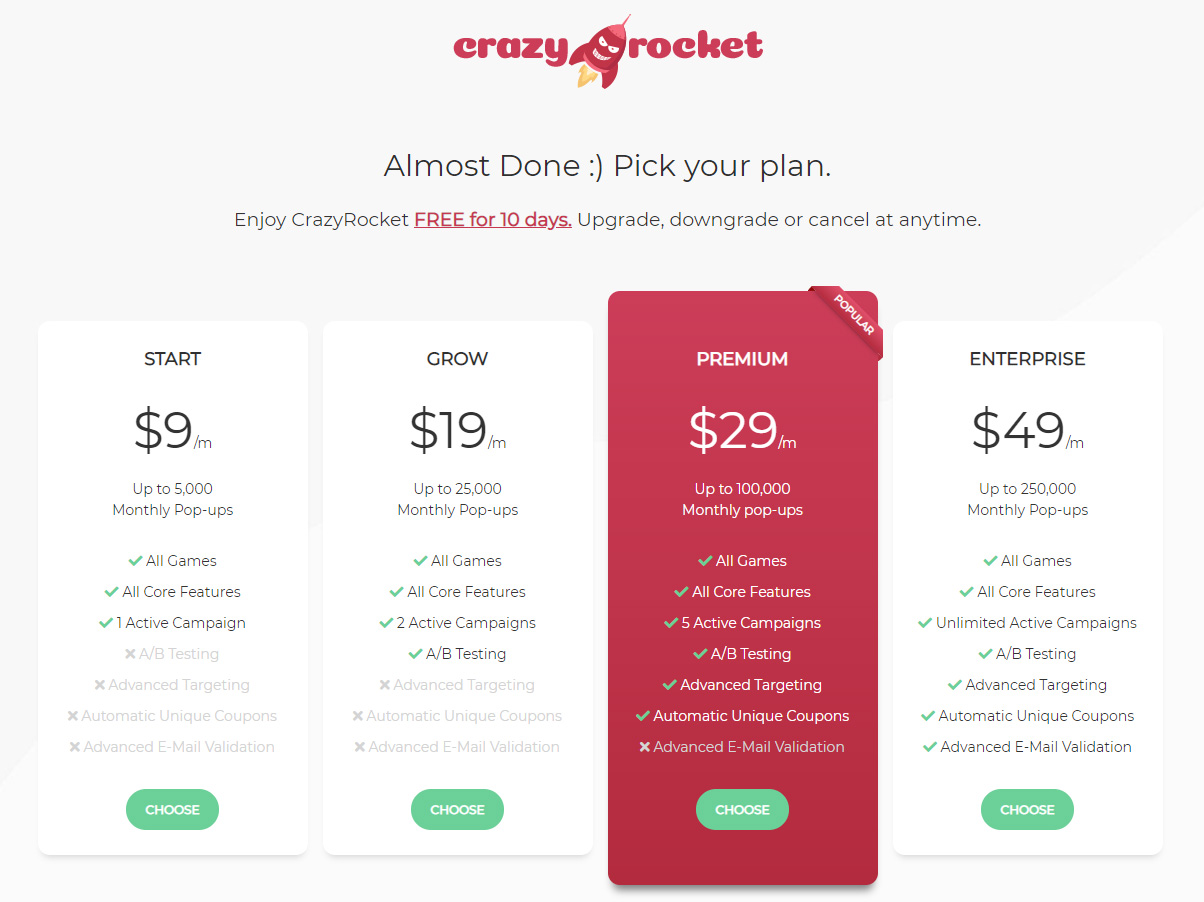
5) Select your plan
Take a moment to choose the plan that better suits your needs.
You'll have a 10-day free trial and the ability to upgrade
or downgrade if needed.
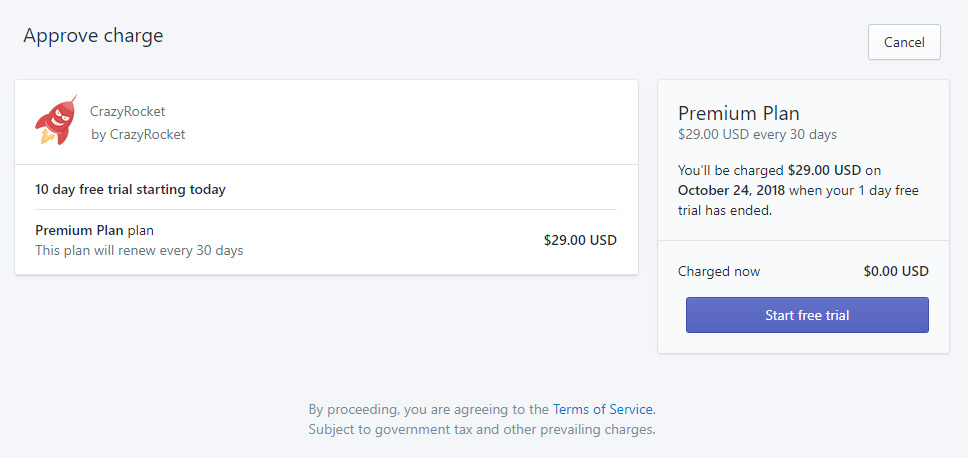
6) Approve the charge on Shopify
Almost Done! Just accept the charge on Shopify and you'll be redirected to the dashboard.
You won't be charged if you uninstall the App before the trial expires.
DONE
Congratulations! You installed CrazyRocket on Shopify; now you can create your first campaign.
READ NOW: How to create your first campaign.